Day 2/30 Getting Started with SwiftData in SwiftUI
Arjun
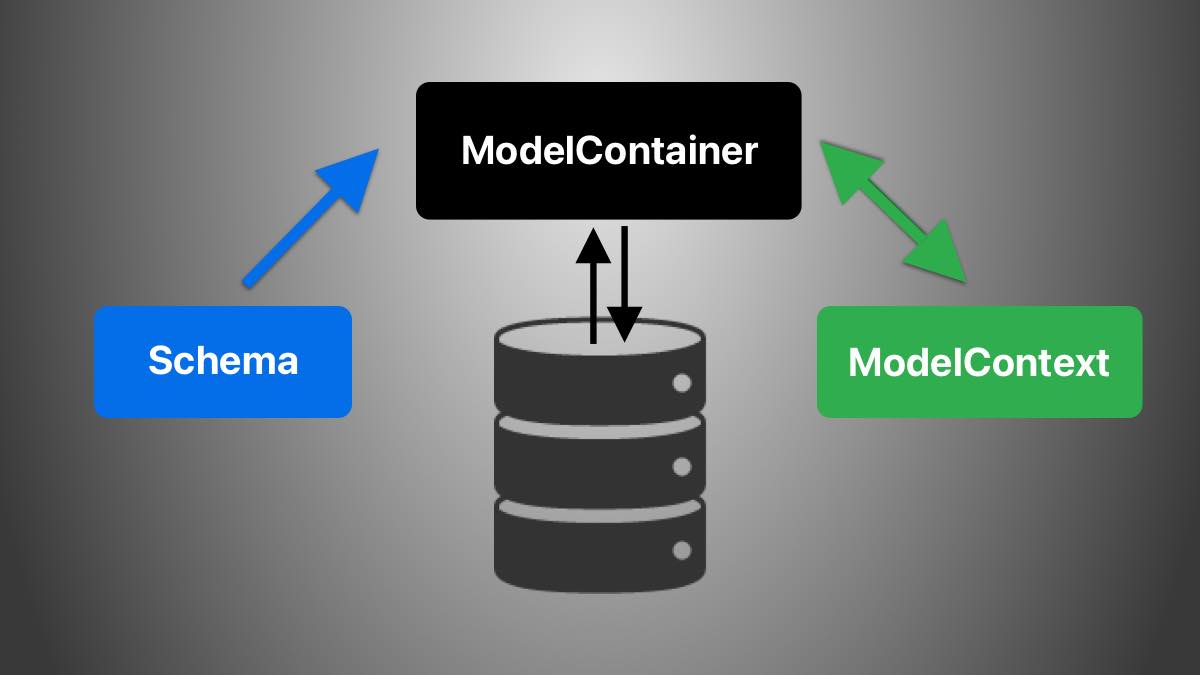
IOS Developer💡 What is SwiftData?
SwiftData is Apple’s modern persistence framework introduced in iOS 17.
It is like Core Data but redesigned for SwiftUI — lightweight, Swift-native, and declarative.
Here’s what makes it nice:
✅ Write plain Swift classes marked with
@Model✅ No need to create Core Data entities manually
✅ Automatic persistence to disk
✅ Tight integration with SwiftUI using
@Queryand.modelContainer()
With SwiftData, storing and reading data becomes almost as easy as working with arrays.
🏗 Step 1 — Creating a Model